Teaching rounding. Gulp. This is one of those concepts that some kids just magically gravitate toward and others S T R U G G L E! So, how can we support those that struggle to learn rounding to the nearest 10 and 100 while keeping the others who “get it” engaged? I am sharing some easy, peasy tips with you!

Teaching rounding to the nearest 10 and 100 can be challenging for third graders, but with the right approach and tips, it can be made easier. Here are some practical tips for teaching rounding to the nearest 10 and 100 to 3rd graders:
Teaching Rounding Tip #1
Start with a visual approach: Use manipulatives such as base-10 blocks to help students visualize the concept of rounding.

Teaching Rounding Tip #2
Use real-life examples to introduce the concept: Use money as an example. “If something cost $2.99, what is that closest to in whole dollars?”
Teaching Rounding Tip #3
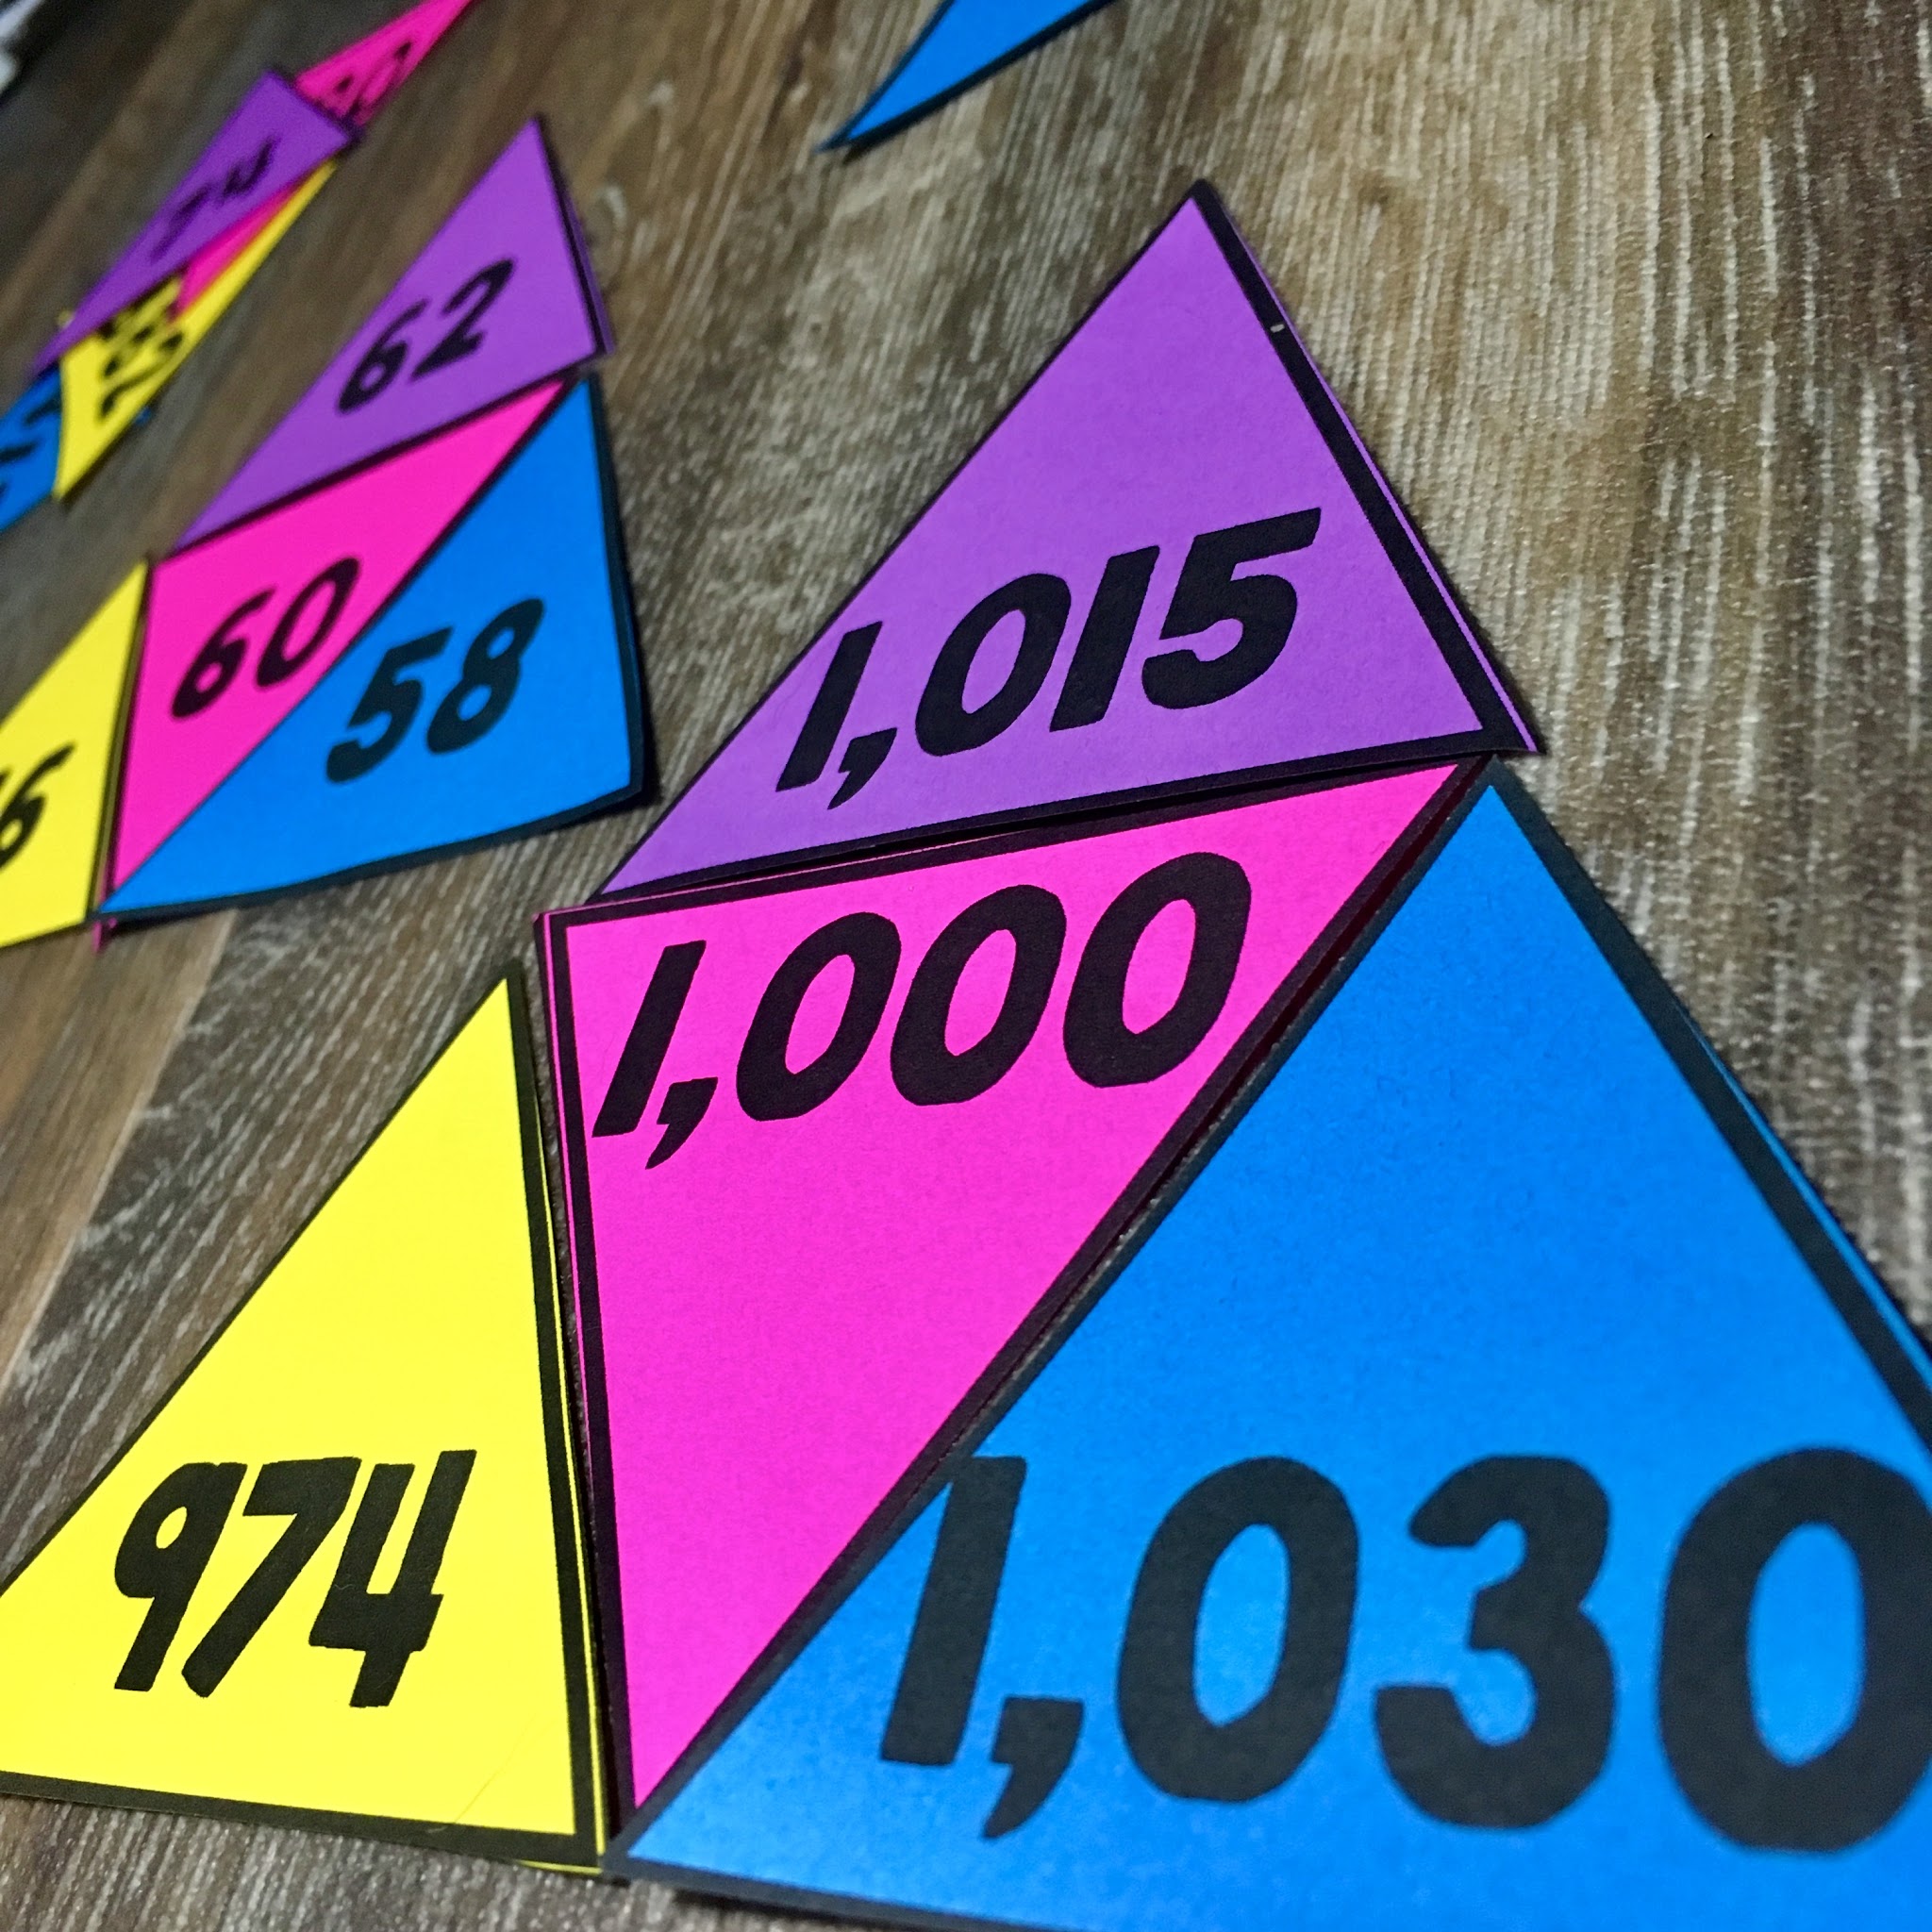
Break it down: Teach students to round to the nearest 10 first, then move on to rounding to the nearest 100. Practicing in math centers or during intervention time allow students to practice each concept of rounding the the nearest 10 and rounding to the nearest 100 individually and then when they are ready, they can move on to mixed rounding concepts. These Rounding Triangle Sorts allow individual rounding and mixed rounding practice. They even include a rounding to the thousands place for those students who need a challenge.
Teaching Rounding Tip #4
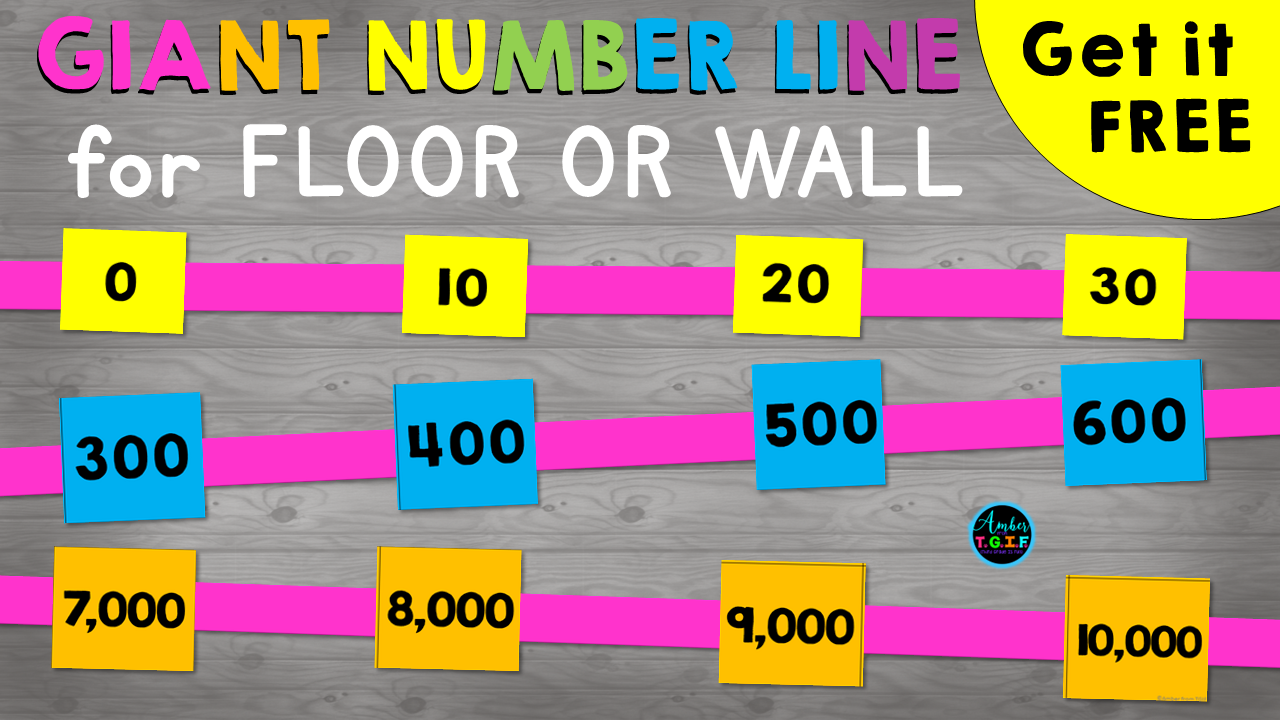
Use a number line: Use a number line to help students visualize the concept of rounding. A hands on number such as the FREE number line I have available below, helps students get a better understanding of midline numbers (350 is halfway between 300 and 400) and getting a visual of if number 28 is closer to 20 or 30 by physically placing the numbers on the line.
Teaching Rounding Tip #5
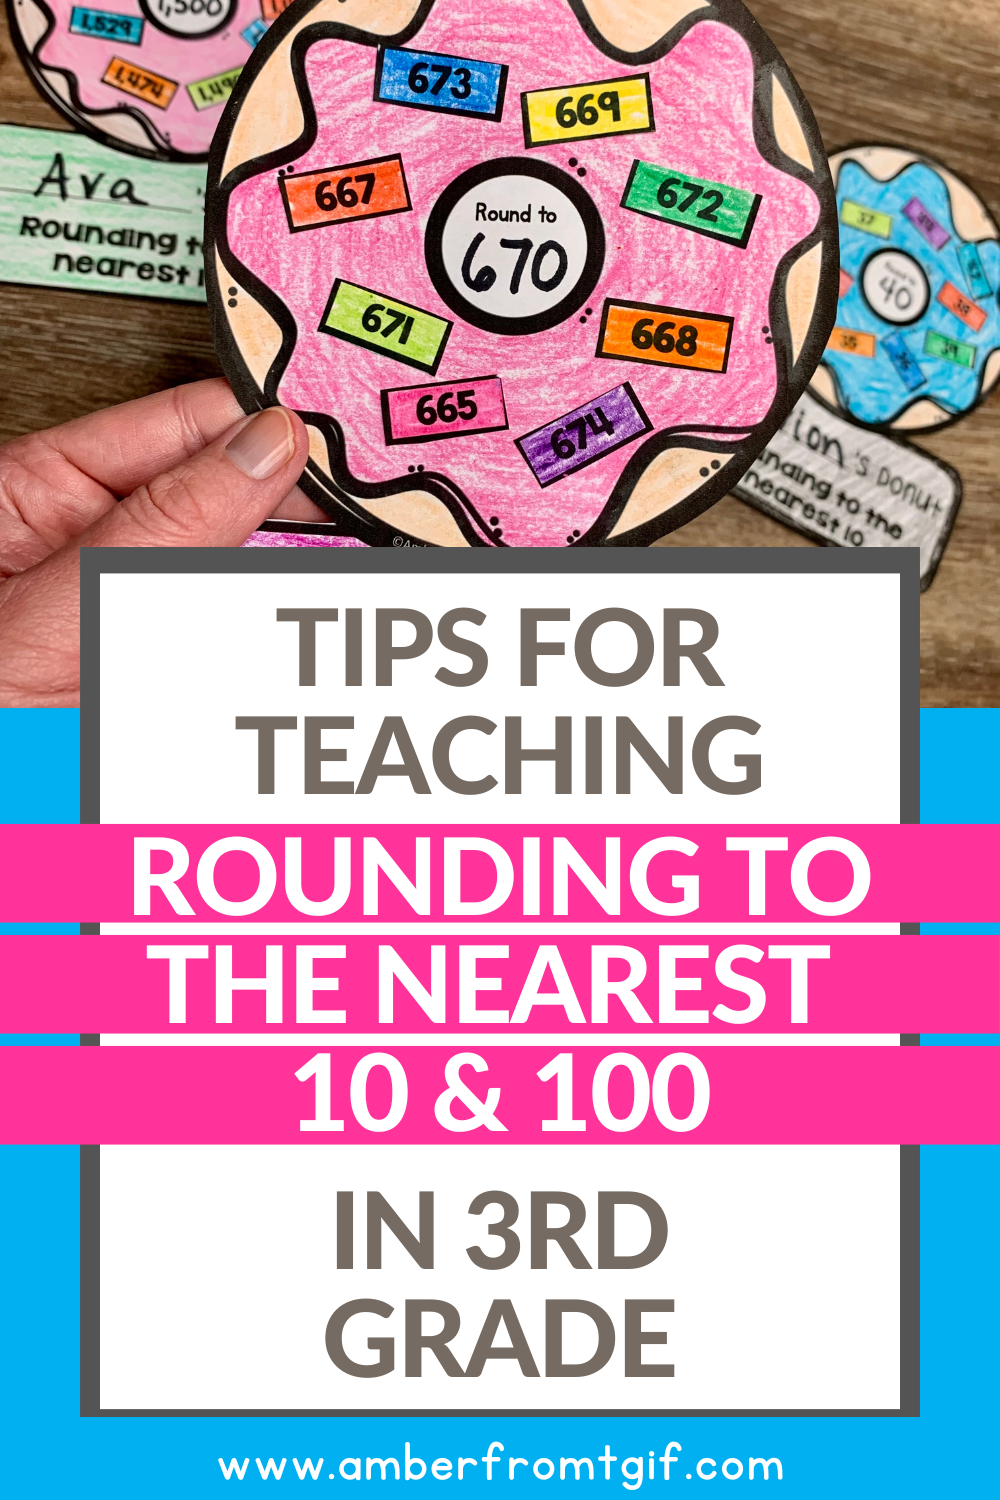
Make it fun: Use games and math crafts to engage students and make the concept of rounding more enjoyable. Math crafts are double duty because not only do they allow for differentiated practice, but they also are just so much fun for the students AND they double as an amazing math display to show off the standards you have been working on. This “Donut you Think: Rounding is Sweet” math craft is perfect on a bulletin board.

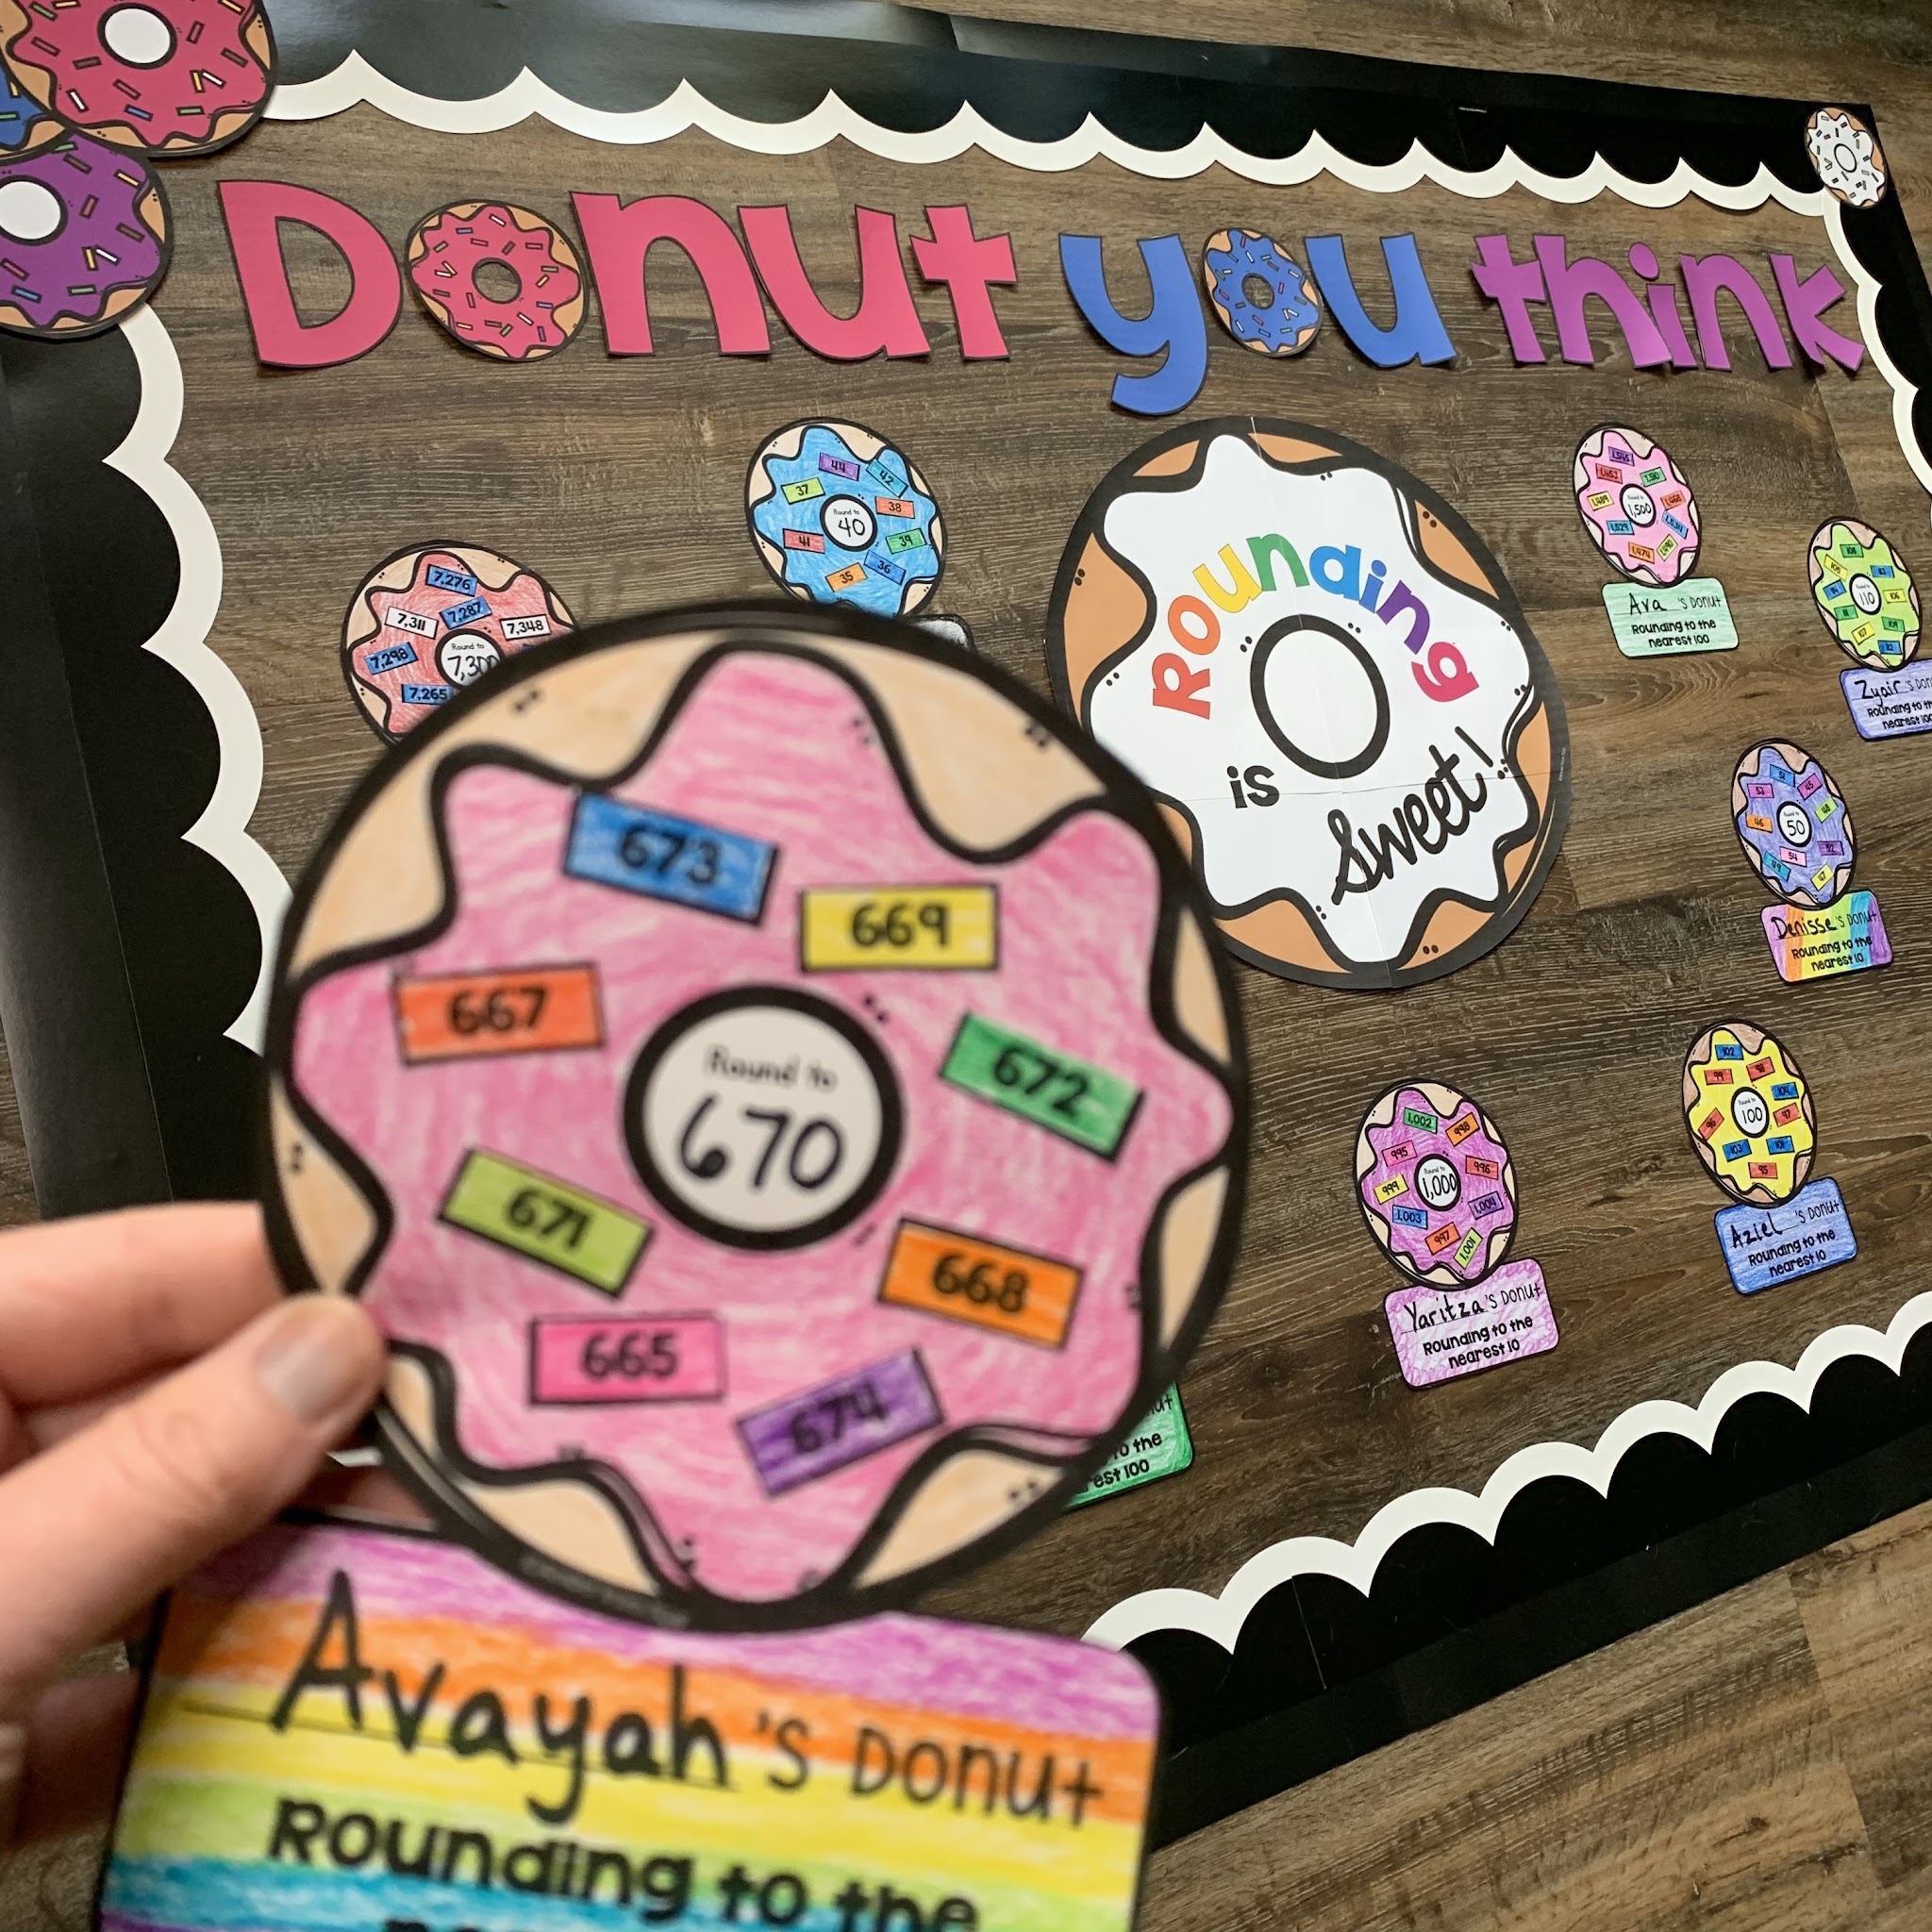
You can differentiate by supporting students who need it with numbers “in order” (above left) like on a number line or students who are ready for a challenge with mixed numbers (above right) which takes a considerable amount of concentration.
Teaching Rounding Tip #6
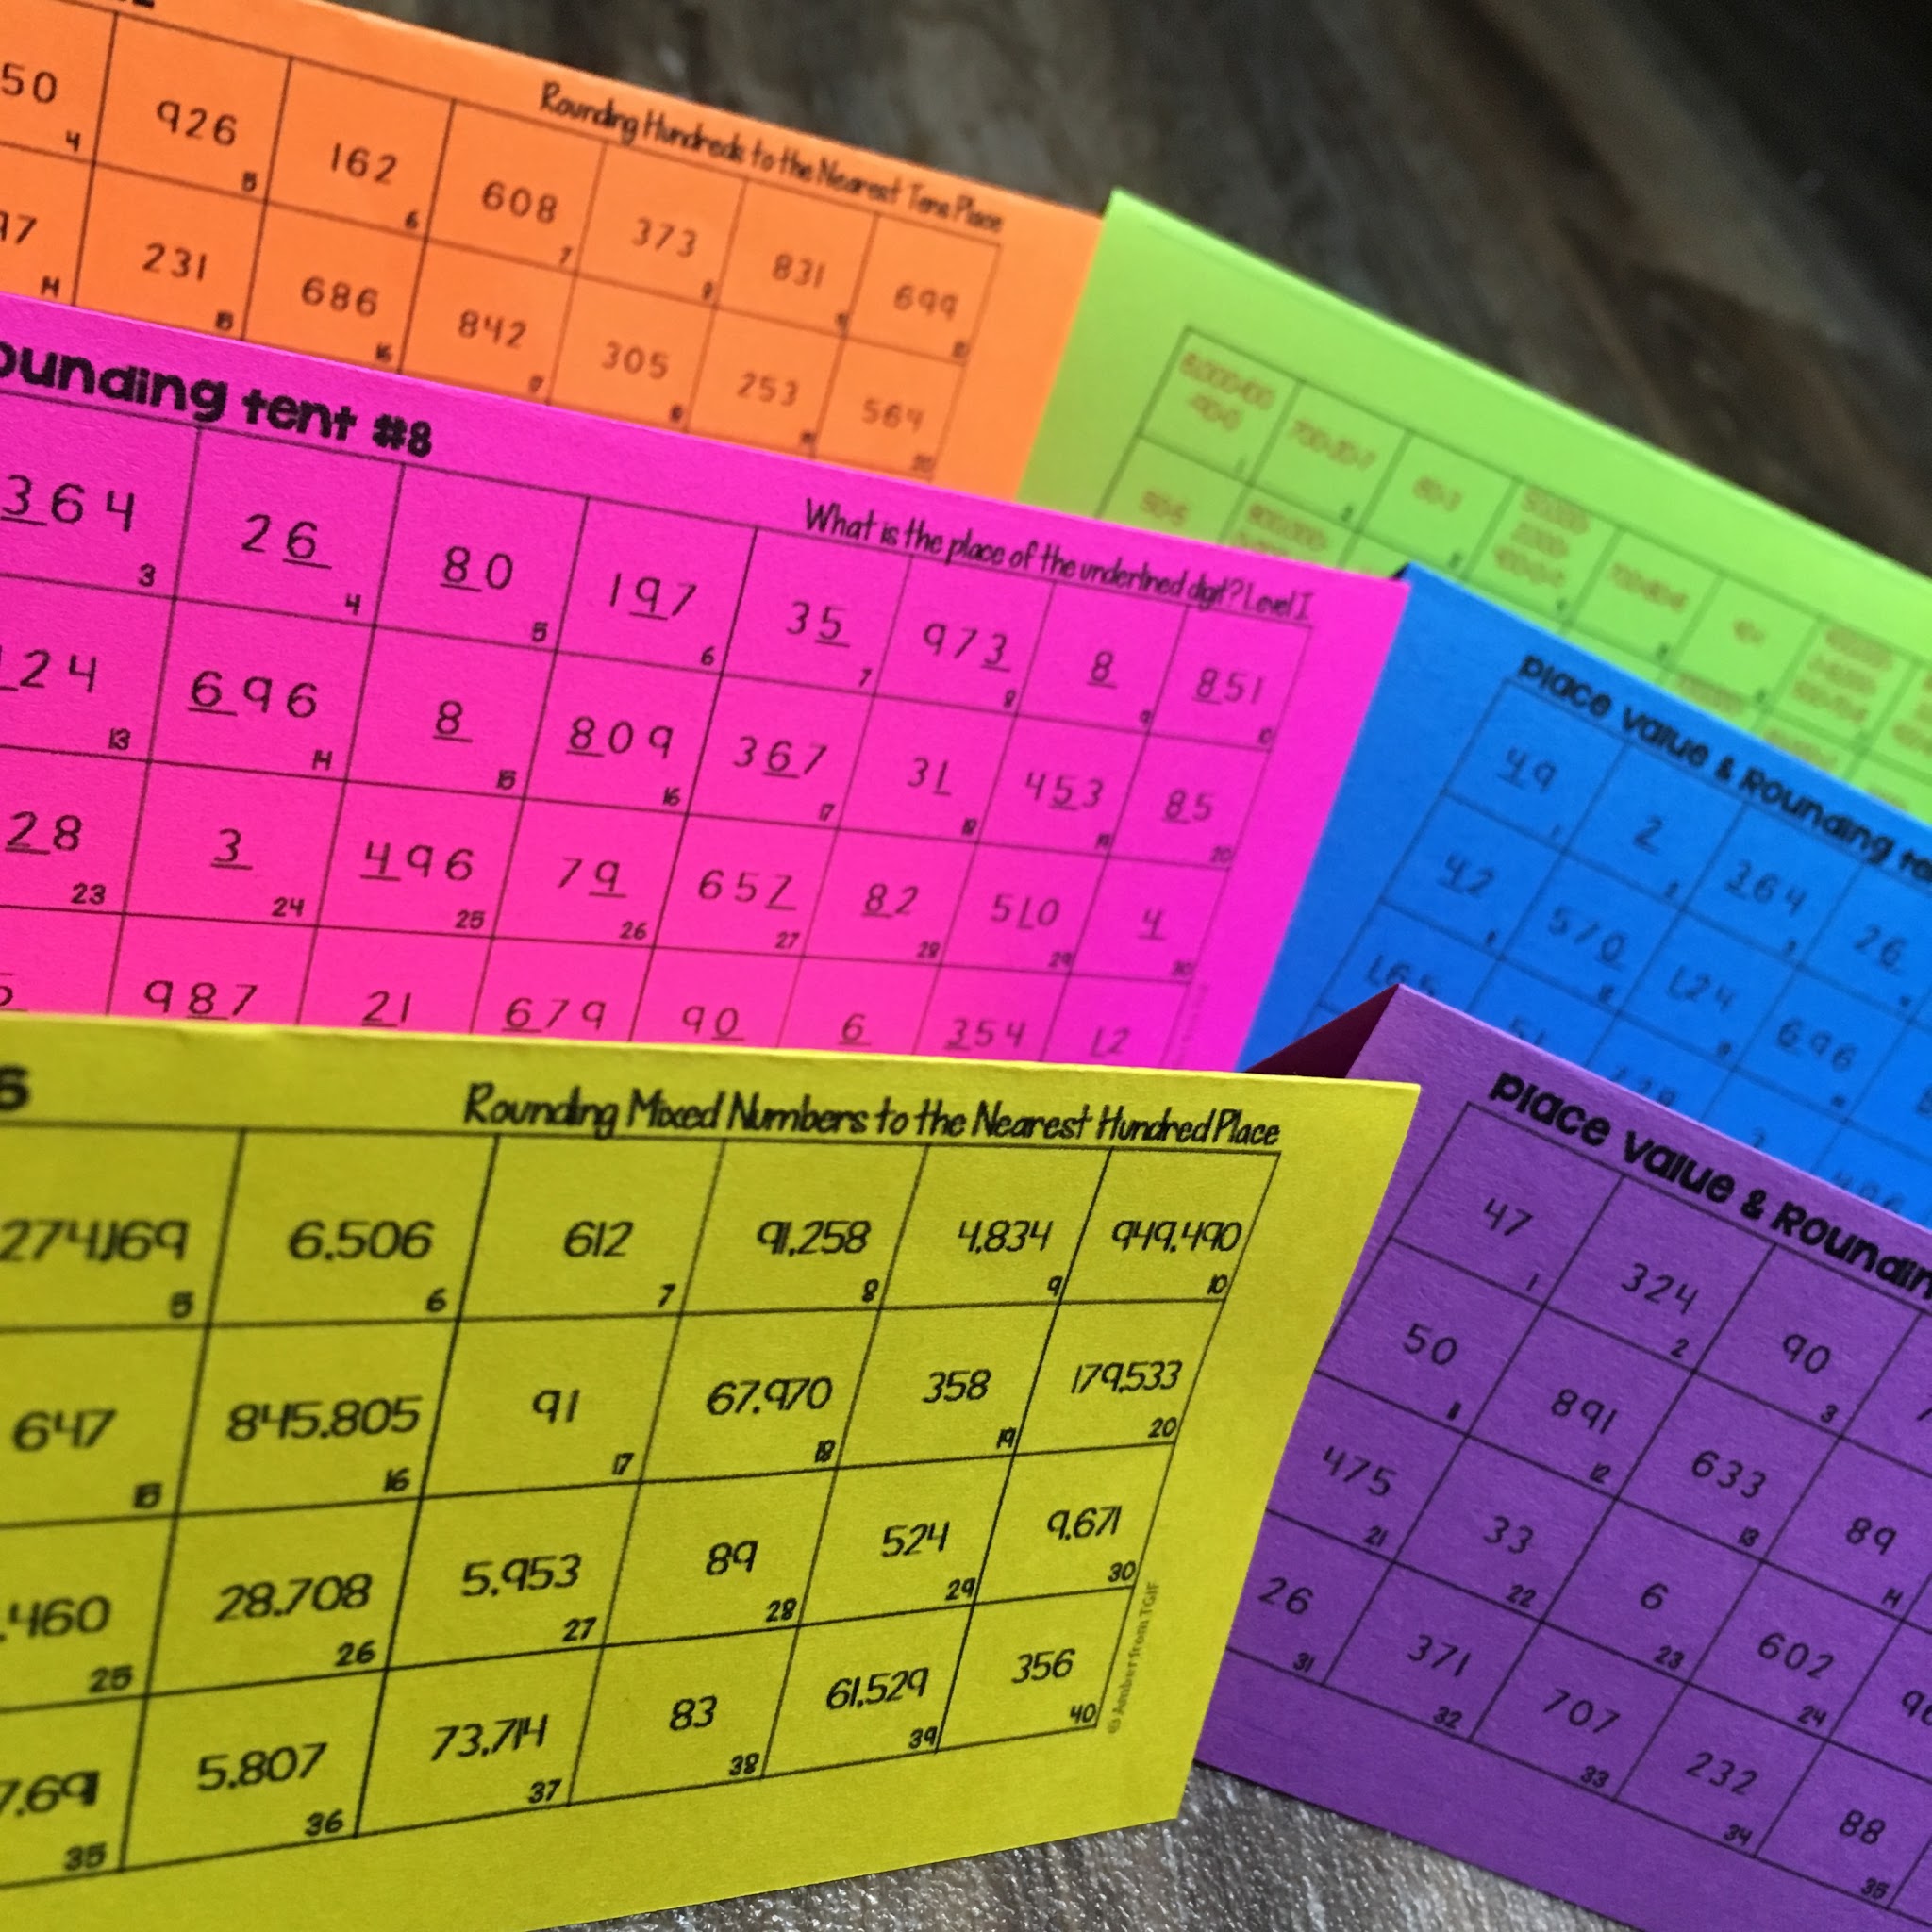
Repeat and reinforce: Repeat the concept several times and reinforce it through practice problems. These place value and rounding math fact tents allow students to practice with a partner and repeat the practice again and again until they master the concept.
Teaching Rounding Tip #7
Use technology: Use technology such as interactive whiteboards or online games to help teach rounding. Have students make their own number line in Google Slides or even using the good old, faithful whiteboard and dry erase marker.
Teaching Rounding Tip #8
Patience & Extra Support: Rounding can be difficult for some students, so be patient and provide extra support to those who need it. When most students have mastered the concept, don’t be afraid to move on. Just continue reinforcing rounding through a quick daily review or in your intervention time to continue reaching out to those students who struggle.